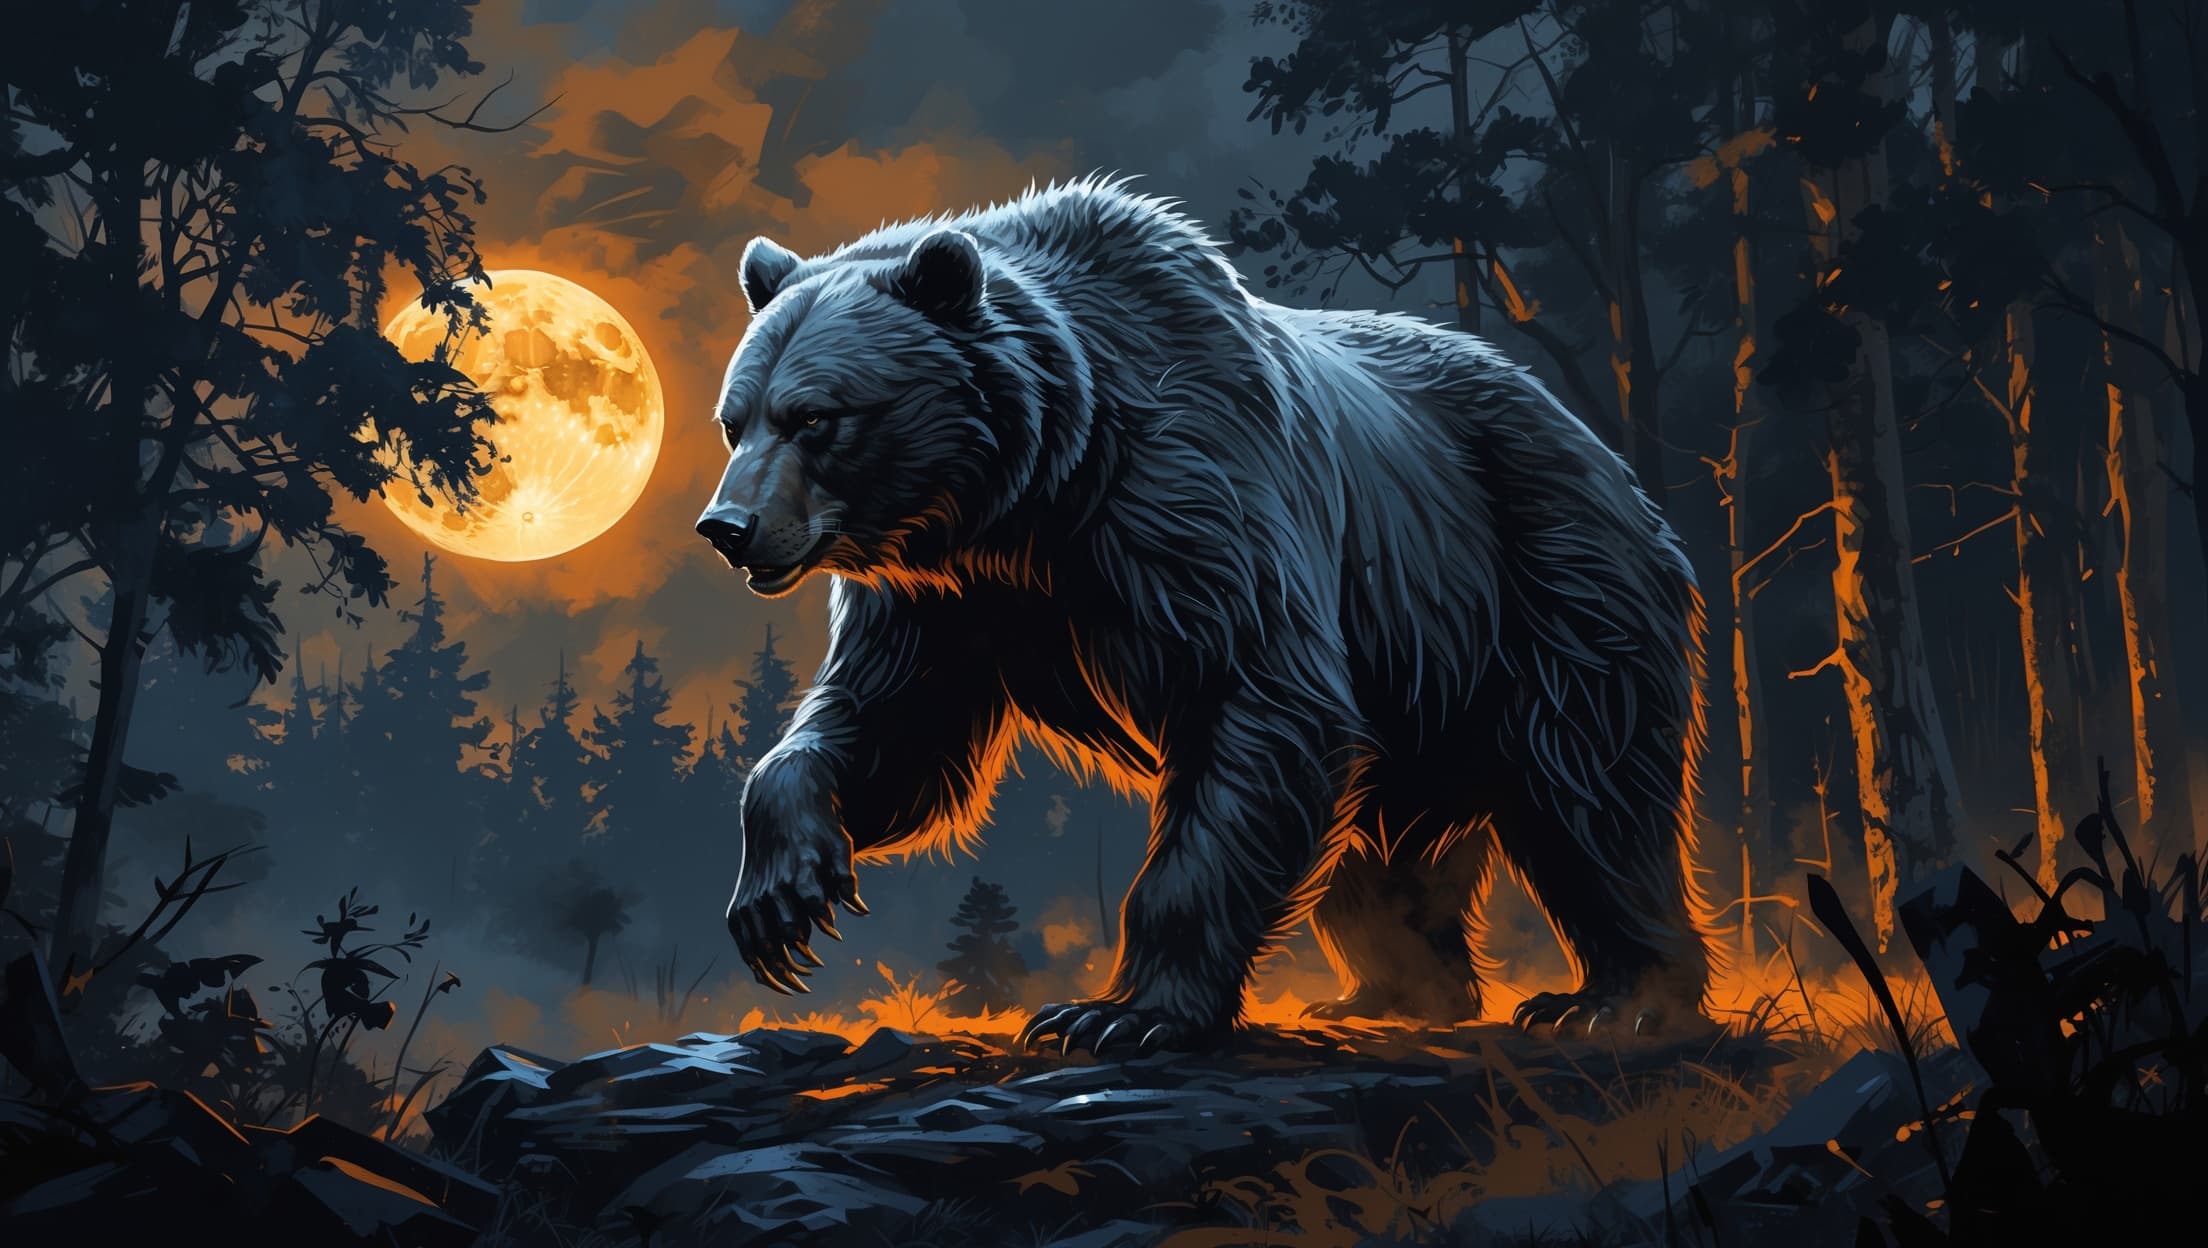
Best Circle of the Moon Druid Build in 5e: The Second Health Bar
Every other Druid subclass asks you to pick a specialty and build around it. Circle of the Moon asks a different question: what if your character simply had two bodies, and the second one was disposable?
That's the entire pitch. At 2nd level, a Circle of the Moon Druid can Wild Shape as a bonus action instead of burning their whole turn on it, and while transformed, they can spend a spell slot as a bonus action to heal instead of reverting. The result is a class that soaks damage in a form that isn't really them, then walks away from a fight their actual character never took a scratch in. It's also a subclass that depends entirely on someone tracking two HP pools, a current form, and how many shifts are left - exactly the bookkeeping an AI Game Master doesn't drop.
If you want the broader picture on playing a Druid with an AI GM, start with our Druid class guide. This one goes deep on building the strongest Circle of the Moon specifically.
Why Circle of the Moon Excels in AI Campaigns
A beast form is a second HP pool, tracked precisely
The entire subclass hinges on one mechanic: damage against your beast form comes out of that form's own HP total, not your Druid's. Once the beast form's HP hits zero, you revert to your own HP, minus any overflow damage. That only works as intended if whoever is running the game keeps two separate numbers straight across a fast-moving fight - your real HP, your current form's HP, and exactly how much damage has landed on which one.
A human GM juggling five players and a stat block for whatever animal you picked is the most common place this mechanic quietly breaks. StoryRoll tracks your beast form's HP pool as its own value from the moment you shift, applies damage to the correct pool automatically, and reverts you cleanly the instant it hits zero - so the subclass's core promise actually holds up in play instead of depending on someone's memory mid-round.
CR-gated forms turn shape selection into a live tactical call
Your Wild Shape options are capped by Challenge Rating and unlocked gradually as you level - no flying forms until level 8, no swimming forms until level 4. That ceiling is the point: picking the right beast for the fight in front of you, not defaulting to "always the bear," is where this subclass actually gets played well.
An AI GM that varies terrain, enemy composition, and damage types by default means that default bear gets tested constantly. A fight against a pack of wolves wants a different form than a fight against a single ogre, and an encounter over open water rules out half your options outright. Playing Circle of the Moon well under an AI GM means reading the scene before you shift, not shifting on autopilot.
Spending a spell slot mid-shape rewards paying attention
The ability to burn a spell slot as a bonus action for healing without leaving beast form is a small rules detail that most new Circle of the Moon players miss entirely - they revert to cast, which defeats the point. An AI GM that explains what's happening turn by turn (your current form, your remaining HP in that form, what options are actually available to you right now) makes that detail visible instead of buried in a sourcebook footnote you'd only catch on a slow read-through.
Ask the AI how much HP your current beast form has left before you commit to another round in it. Reverting on your terms, with a healing slot spent at the right moment, beats getting forced out of the form by a hit you didn't see coming.
The Optimal Circle of the Moon Build
Ability scores
Wisdom > Constitution > Dexterity > Strength > Charisma > Intelligence
Wisdom drives your spell save DC and spell attacks for the time you spend as yourself, plus every Wisdom-based skill. Constitution matters for your own HP total and concentration saves, even though your beast form's HP pool is calculated separately. Dexterity helps your AC and initiative outside Wild Shape, where you're not relying on a beast's natural armor.
Using point buy: 15 Wis, 14 Con, 13 Dex, 10 Str, 8 Cha, 8 Int before racial bonuses. New to ability scores? Our ability score guide covers the basics before you build.
Best race picks
Firbolg - A Wisdom bonus that feeds directly into your spellcasting, plus Hidden Step for a free short-range invisibility and Firbolg Magic (disguise self, detect magic) for utility you can use in your own body before or after a fight. The gentle-giant flavor also pairs naturally with a class built around becoming something else entirely.
Wood Elf - Wisdom and Dexterity both get a bump, Fleet of Foot adds 5 extra feet of walking speed in your own form, and Mask of the Wild helps you hide in natural terrain - exactly the environments this subclass is built to operate in.
Half-Elf - A flexible +2/+1 split that covers Wisdom and either Constitution or Dexterity, plus two skill proficiencies of your choice and resistance to being charmed. A safe, strong generalist pick if neither Firbolg nor Wood Elf fits your campaign's setting.
Wild Shape forms by tier
Levels 2-3: Brown Bear (CR 1). The best HP-to-damage ratio available at this tier - a solid pool of temporary HP and a multiattack that outperforms almost anything else you can access this early.
Levels 4-7: Giant Spider (CR 1) or Giant Eagle (CR 1). Once you unlock climbing speed at level 4, a Giant Spider adds web attacks and poison to your toolkit for utility fights. A Giant Eagle covers scouting and mobility the moment flying unlocks at level 8 draws close enough to plan around.
Levels 8+: Giant Elk or Giant Shark. Flying and swimming speeds both unlock at 8th level. Giant Elk gives you a strong HP pool and a trample attack on land; Giant Shark is the pick the moment a fight or a journey goes underwater.
Quick Build: The Second Skin
- Race: Firbolg
- Ability Scores: 15 Wis (+1 racial), 14 Con (+2 racial), 13 Dex, 10 Str, 8 Cha, 8 Int
- Signature forms: Brown Bear (2nd-7th), Giant Elk or Giant Shark (8th+)
- Skills: Survival, Perception, Nature, Animal Handling
- Level 4 ASI: Resilient (Constitution), to shore up concentration saves made in your own body
- Playstyle: Burn the beast form first, spend a slot to heal it mid-fight, and only revert on your own terms
Playstyle Tips for AI Campaigns
Shift before the fight starts, not during it
Wild Shape costs a bonus action under this subclass, but you still need to decide which form fits before initiative is rolled. Tell the AI what you're sensing about the encounter - terrain, enemy count, whether you've spotted ranged attackers - and shift into the form that answers that specific threat instead of guessing mid-round and losing a turn to indecision.
Say the slot-spend out loud
Spending a spell slot as a bonus action to heal while shaped is easy to forget exists. Make it part of your combat habit: on any turn where your beast form's HP is getting low but the fight isn't over, say "I spend a slot to heal in this form" and let the AI confirm exactly how much you recover before deciding whether to keep fighting or revert.
Treat your real HP as the line that actually matters
Because beast form damage doesn't touch your own HP until the pool is empty, it's tempting to stay shaped past the point where it's smart. An AI GM tracking both pools accurately means you'll get a clear picture of exactly how much buffer is left - use that information to revert and disengage before your real character takes a hit that was never supposed to reach them.
Circle of the Moon pairs unusually well with solo campaigns for the same reason Totem Warrior does: a second HP pool you can spend before your real one is at risk means you can survive fights that would otherwise require a dedicated healer.
Circle of the Moon vs Other Druid Subclasses
Circle of the Moon isn't the only strong Druid pick, and it's worth knowing what you're trading away.
Circle of the Land is the caster specialist. It adds bonus spells tied to a terrain type and lets you recover spell slots on a short rest, which rewards players who want Wild Shape as a utility tool rather than their main combat answer. Circle of the Land wins on spell versatility. Circle of the Moon wins on raw durability and action economy in a fight.
Circle of Spores trades beast-form tanking for necrotic damage and a death-adjacent theme - your Symbiotic Entity feature adds temporary HP and bonus damage without ever requiring Wild Shape at all. It's a strong pick if you want Druid's spell list with a more aggressive, less transformation-dependent playstyle.
Circle of the Shepherd is the party-support option. Spirit totems buff your allies' HP and damage directly, which is strong glue for a group with squishier members, but it does nothing for your own personal survivability the way a beast form's HP pool does. If your table already has a tank, Shepherd fills a different niche well.
For most groups, especially anyone playing solo or expecting a wide mix of combat and exploration, Circle of the Moon remains the subclass that turns Wild Shape from a novelty into the core of how you survive.
Common Build Mistakes
Reverting to cast instead of using the slot-spend heal. The single biggest thing new Circle of the Moon players miss: you don't need to leave beast form to heal it. Spending a spell slot as a bonus action works from inside the shape. Reverting first wastes the subclass's best feature.
Picking the same form for every fight. Nothing stops you from Wild Shaping into a bear every single time, but a fixed default ignores the CR-gated form list you're paying levels to unlock. Match the form to the fight - flying, climbing, and swimming forms exist for a reason.
Dumping Wisdom for Constitution. Your beast form's HP pool doesn't scale off your own ability scores, so over-investing in Constitution at Wisdom's expense weakens your spellcasting without meaningfully improving your tankiness in beast form.
Forgetting you can still talk in beast form. Most beast shapes let you retain your own mind and communicate in a limited way with allies who understand you. Players who treat Wild Shape as a silent combat mode miss roleplay opportunities an AI GM is often ready to build on.
Ignoring your own HP line entirely. Beast form HP is a buffer, not a replacement for caution. A Circle of the Moon Druid who never tracks how close they are to actually dying, once the buffer runs out, is playing against the subclass's real risk.
Frequently Asked Questions
Is Circle of the Moon the best Druid subclass in 5e?
For combat-focused play, yes. Circle of the Moon lets you Wild Shape as a bonus action and spend spell slots to heal while transformed, turning your beast form into a second HP pool you burn through before your real one is ever at risk. Circle of the Land is the better pick if you want more spellcasting and less shapeshifting, but Moon wins on raw survivability and action economy.
What is the best Wild Shape form for a Circle of the Moon Druid?
At low levels, a Brown Bear (CR 1) gives you the best HP-to-damage ratio available. By level 8, a Giant Elk or Giant Shark covers most terrain types with strong HP and a solid attack. The real answer depends on the fight: pick the form that survives the encounter in front of you, not one default shape for every scene.
What race is best for a Circle of the Moon Druid?
Firbolg is a strong thematic and mechanical fit - Hidden Step and Firbolg Magic add utility outside Wild Shape, and the Wisdom bonus feeds your spellcasting between fights. Wood Elf and Half-Elf both work well for the Wisdom/Dexterity split. Any race with a Wisdom bump is a safe pick since your beast form's attacks don't scale off your own ability scores.
Does an AI Game Master track Wild Shape forms and HP correctly?
Yes. StoryRoll tracks your current beast form, how many Wild Shape uses you have left, and your beast form's separate HP pool, reverting you to your own HP total the moment that pool hits zero instead of letting damage bleed through incorrectly. Tell the AI which creature you're becoming and it handles the stat block for that scene.
Is Circle of the Moon good for solo D&D campaigns?
Circle of the Moon is one of the strongest solo picks in the game. A beast form's HP pool acts as a damage buffer your real character never has to spend, and spending a spell slot mid-shape to heal means a solo Druid can out-sustain fights that would end most other classes without a party healer backing them up.
Can a Circle of the Moon Druid still cast spells?
Not while Wild Shaped, with one exception: you can spend a spell slot as a bonus action to regain hit points equal to your Druid level times the slot's level, without needing to revert first. Outside of combat forms, you cast normally as a full Druid, so the build still needs a spell list for utility and out-of-combat situations.
Circle of the Moon turns Wild Shape from a novelty into a second HP pool with its own rules, and the subclass only works as intended if someone is actually tracking that pool, your current form, and how many shifts you have left. That's exactly the bookkeeping a busy human table loses and an AI Game Master never drops.
Build around Wisdom and Constitution, match your beast form to the fight in front of you instead of defaulting to one shape, and spend the slot-heal from inside the form instead of reverting to cast it.
Build your Circle of the Moon Druid on StoryRoll and see how far a second body actually gets you.
If you want to see how other classes hold up under the same build-optimization lens, Totem Warrior Barbarian and Beast Master Ranger follow the same pattern of picking the strongest subclass and building around it.
Try These Free Tools
Gear up your Circle of the Moon build with these free resources:
- Ability Score Calculator: maximize Wisdom and Constitution for the strongest spellcasting-and-survival split.
- Dice Roller: roll beast form attacks, saving throws, and spell slot heals.
- Short Rest Calculator: track how many Wild Shape uses you've recovered between fights.
Written by StoryRoll
Founder of StoryRoll. Building AI-powered tabletop RPGs.
Related Posts
Best Oath of Devotion Paladin Build in 5e: The Classic Holy Knight for AI D&D
Oath of Devotion is the clearest, most classic Paladin build in 5e. Here's the optimal ability scores, race picks, and how Sacred Weapon timing shines under an AI Game Master.
Best College of Lore Bard Build in 5e: The Ultimate Generalist for AI D&D
College of Lore is the most flexible Bard subclass in 5e. Here's the optimal build, skill picks, and why Cutting Words shines under an AI Game Master.
Best Totem Warrior Barbarian Build in 5e: The Ultimate Survivor for AI D&D
Path of the Totem Warrior is the most survivable Barbarian subclass in 5e. Here's the optimal build, totem picks, and why it shines under an AI Game Master.